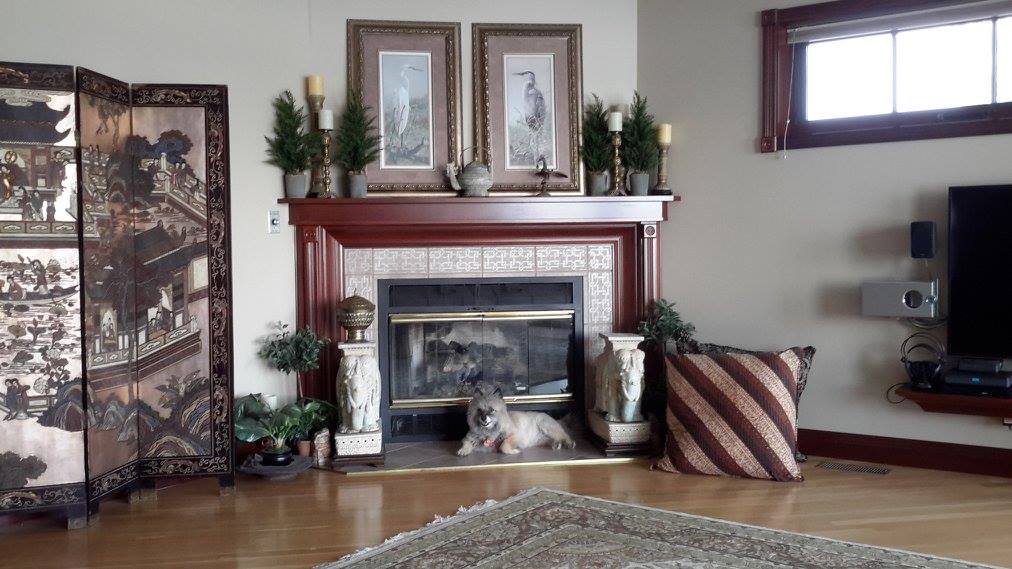
After refinishing our floors, the metal registers looked shabby, out-of-place, a careless selection made in the haste of building a new house.
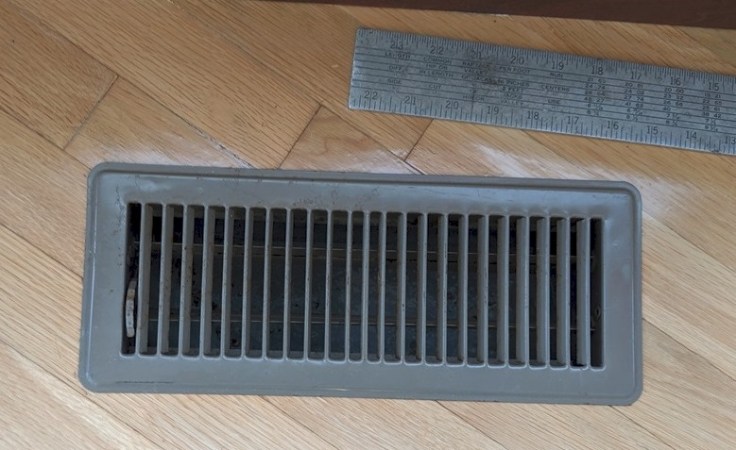
Flush-fit red oak vents from Lumber Liquidators. $21 each. Problem solved.

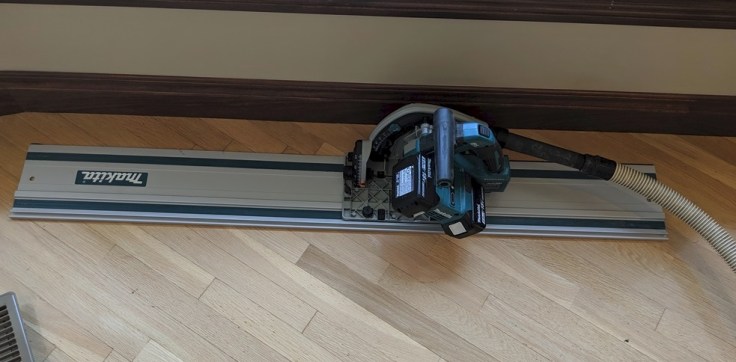
But wait – not so fast. A flooring contractor who’s installed hundreds of these said he’s never tried it on an existing floor; that one needs a tracked plunge saw, which he doesn’t have; and even if he did he wouldn’t take the job, because it’s easy to tear up adjacent boards. “You seem like a handy fellow” he tells me. “Why not do it yourself?”
Let’s save a few words – I tried to do it without buying the expensive tool. That didn’t work out, but I stopped soon enough to avoid destroying the floor. Then I bought a Makita cordless and a 55 inch track. It seems to be a very good machine. $500.
Yes, I know – ouch! Let me say, with the clarity of recent experience – don’t try this without the right tool. Furthermore …
When you’re putting the first one in, you’ll be fired up, ready to employ all your woodworking skills. This is going to be such a stunning example of practical craftsmanship that people will come to your house just to experience the breeze coming out of the floor in your living room.

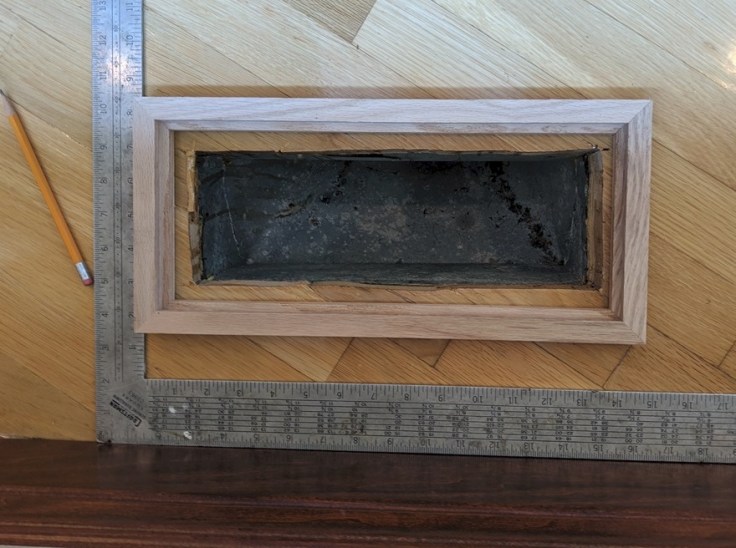
The artisan in you knows that, having scribed the outside of the frame, if you cut right on the inside of the line, just barely obliterating the pencil mark, the hole will be perfect, a seamless fit.

But, after making several trips to your workshop to hand-bevel the backside of the frame so you can wedge it into that tight hole, and trial-fitting the piece so many times it starts to come apart, you’ll realize you’re not inlaying mother-of-pearl on a guitar neck. Your back and knees are sore, there’s 5 more to put in and you need to conserve muscle tone in order to freehand the corners with an oscillating saw on at least 4 of these yet today, all this without putting an eye out. That’s when you decide to make the hole larger by 1/2 saw kerf on each side.
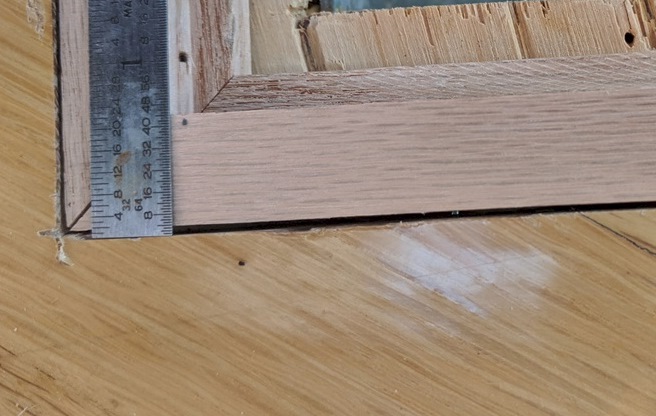
That’ll get you in the range of 3/64 tolerance, after which the frame drops right in. Hm. The gap in this example appears to be concentrated on one edge – with the other side tight. Now, maybe you’re thinking, “John, drive the frame east and you’ll have two gaps @ 3/128 each.” But, nope – it won’t move. I don’t know if there’s a variance in the frame, or perhaps the recess isn’t square all the way down – but I didn’t cut the hole oversized just so I can pry the damned thing out and custom fit it.

That’s why they make wood putty. It’s fine. In case you don’t believe me, the second image at the top of this post is the first one I installed. You can do this. Comments welcome.

I never thought that I would read an article about DIY woodworking -of which I know nothing- through to the end ,but I just have and it was entertaining!
LikeLiked by 1 person